Table of Contents
Being a beauty writer means that I get sent a lot of beauty products. Because I’m working from home and no longer have access to an in-office beauty closet, I’ve had to get crafty about storing my stash in my bedroom. This is very a low-stakes issue to have, but tackling my storage has become a huge priority as I’ve found myself losing track of what I’ve owned and never know where anything is.
This, says Kate Pawlowski, expert organizer and founding partner of Done & Done Home, is something she hears frequently from beauty lovers like me. “If you’re somebody who likes a lot of cosmetics and a lot of variety in their cosmetics, I think it’s really important to be able to see things,” she says. “You forget what you have and then you don’t use it and then over time, the longer you don’t use it, the less likely you are to use it.”
Beauty product organization can be tricky. Luckily, Pawlowski and Ann Lightfoot, the other half of the Done & Done duo, are here to share their wisdom. Using their insight, I was able to create a system that worked for me, and you’ll be able to shop everything I used below.
Step one: Out with the old
When organizing your beauty products, start by clearing out what you don’t use. “A lot of times when we’re decluttering a bathroom or a vanity, there’s so much stuff that people aren’t actually using that it makes it more difficult for them to organize and use what they have,” says Lightfoot. “So once you get rid of the things that are expired and things that didn’t work out, you’ll get down to your basics which makes it much easier to put things together.”
Pawlowski says you should be going through your products every six months to keep from accumulating too much. Once you open a product, she says to write the date you opened it on the bottom. If you pick something up and realize it’s been a while since you last used it or that it’s expired, you’ll know you can part with it. And if you bought something and decided it just wasn’t for you, give it to a friend or donate it to a place that accepts opened (but not fully used) cosmetics.
Step two: Choose designated storage areas
If your beauty collection is overflowing, you’ve probably started to store products in any spare space you’ve got—which means they’re likely scattered all over your home (oven serums, anyone?). According to Pawlowski, it’s best to corral the loose ends and put them in one place that makes the most sense.
“Even if you can fit a tiny little vanity where you do your makeup [separate from your bathroom], especially if you live with somebody else, it gives you more time and space to be getting ready while they’re getting ready,” she says.
Plus, adds Lightfoot, this system can be helpful in keeping your everyday products separate from the ones you only use every once in a while. “You could have your special stuff in a clear bin on one of the bathroom shelves or under the sink or something, but your daily things could be right at the ready [on the vanity],” says Lightfoot.
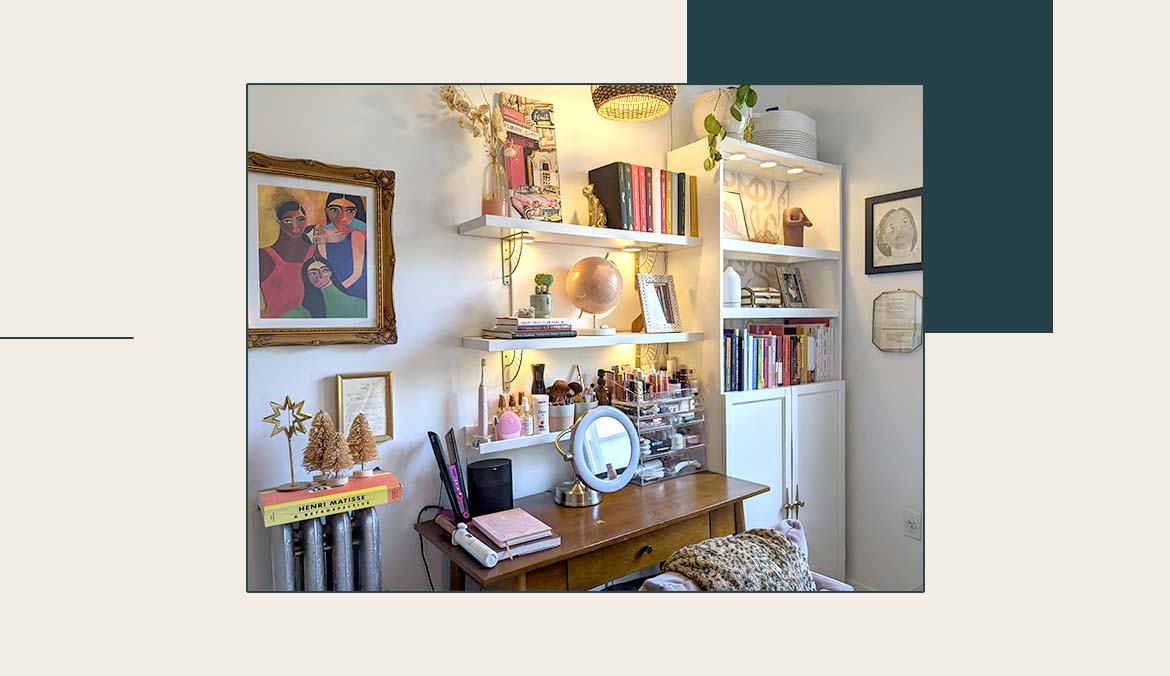
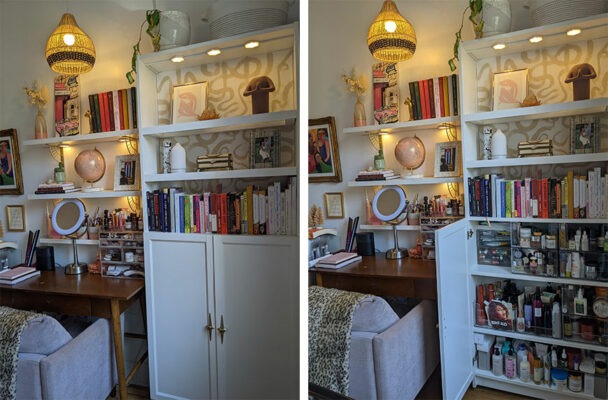
Personally, my desk (which is in my bedroom) doubles as a vanity, and I use the bottom half of an Ikea Billy Bookcase ($50) for storage. I’ve outfitted the bottom shelves with a set of Oxberg Doors ($30 each) to hide my products, and the top shelves (which are uncovered) are reserved for decor.
Step three: Map out your storage and get clear bins to keep you organized

“Within our drawers and vanities, we use clear plastic so you can see what you’re doing and then divide things ‘like with like,'” says Lightfoot. “So lipsticks are together and lotions are together, and it keeps you honest about how much you have.”
For my beauty product organization, I used The Container Store’s Luxe Acrylic Modular Makeup System ($10 to $35) and the InPlace Shelving Picture Ledge ($18) to store my everyday products.

InPlace Shelving Picture Ledge — $18.00
I store my makeup brushes, lash products, brow products, and concealers in cups, and I love using this picture ledge to keep them off my desk but still within reach. I also use it to store a few face products, my Philips Sonicare ($190) toothbrush and my Foreo Luna 3 ($199) face tool. Sharing one bathroom with three other girls means in-bathroom storage space is limited, so I like keeping these items in my room.

In my Billy bookcase, I used eight of The Home Edit Stacking Pantry Bins ($22) and the Small Acrylic Organizer Shelf ($19) from The Container Store. I also used a makeup organizer that I’ve owned for years that is similar in size to this Cq acrylic Clear Makeup Organizer ($30) in medium with eight drawers.

The Container Store The Home Edit Stacking Pantry Bins — $22.00
These bins are 10 inches long x 10 inches wide x 6 inches tall. So within the Billy bookcase, I was able to configure my shelves to four, stacked two and two, on the top shelf and four (two side-by-side and two stacked on the middle shelf). The door hinges don’t allow you to fill the top and bottom shelf with the bins, but theoretically, I could have fit six bins on the second shelf.
Step four: Add labels
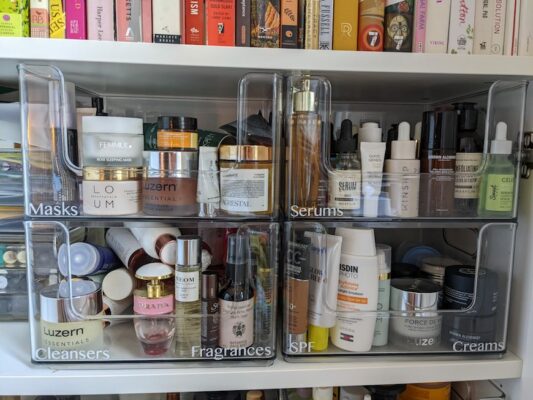
Pawlowski says using labels to group products by type can help keep you organized. I used the Cricut Joy Starter Kit ($150) to create the perfect, minimal labels for my face products.
Step five: Enjoy!
Getting all of my products organized makes me so happy: I love that I basically have what feels like a mini beauty store in my bedroom. Following Pawlowski and Lightfoot’s tips has made getting ready for the day easier and more enjoyable. Plus, it’s easier to keep my space tidy when every item has a home.
Oh hi! You look like someone who loves free workouts, discounts for cutting-edge wellness brands, and exclusive Well+Good content. Sign up for Well+, our online community of wellness insiders, and unlock your rewards instantly.
Our editors independently select these products. Making a purchase through our links may earn Well+Good a commission.
 fashion rec fashion wanted
